

So some might care and some might not care that I have not posted any battle reports for about five months. Moving, new jobs, training have all consumed my life (for the better) in that time and I have had little time to devote to the brikwar hobby aside from some slight expansions of my medieval forces and anxiously awaiting the release of MFZ.
Enter McLovin, a fellow colleague and lego enthusiast from his younger days. Some weeks ago I introduced him to my lego wargaming hobbies and he was instantly interested. Interested enough to bust out his classic castle collection, dust it off, and consider learning the rules to brikwars for some gaming action. Lego Castle nuts, McLovin has one of the most awesome collections of medieval lego imaginable, to the order of nearly every...EVERY set between the time-spans of Crusader to Dragon Master. That's a lot of minifigs and a lot of potential classic terrain
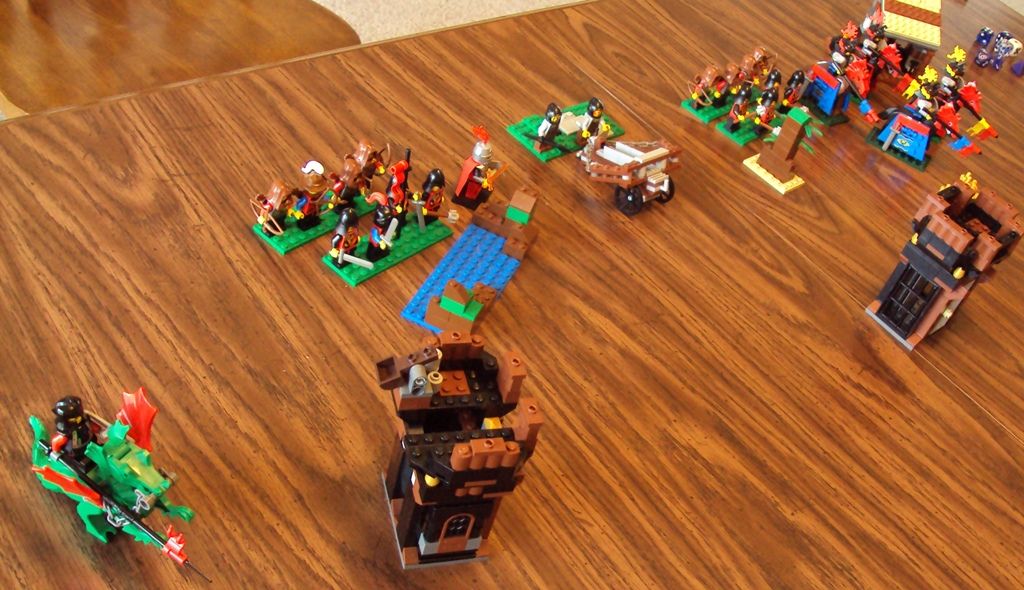
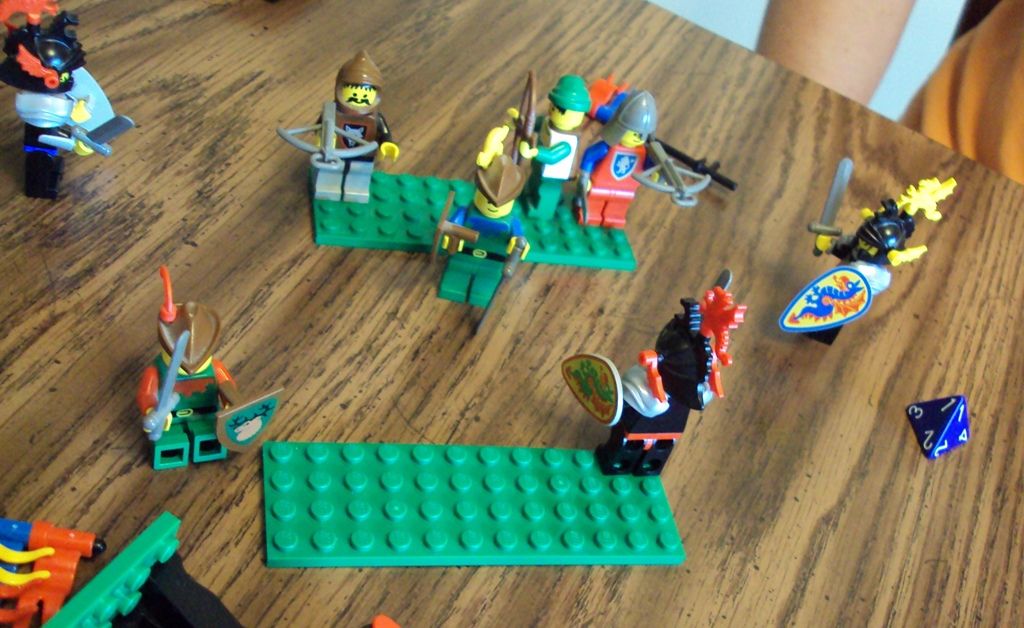
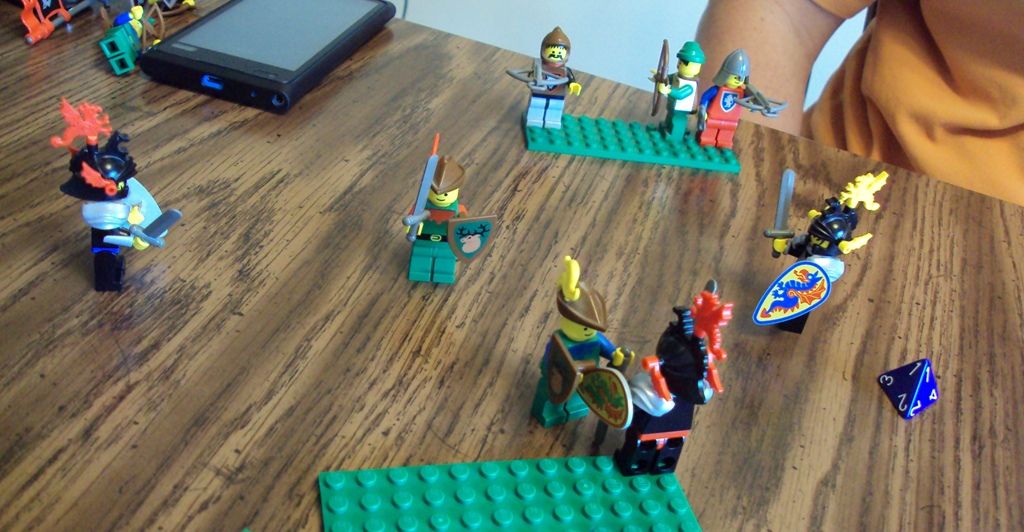
Turn Zero/Deployment
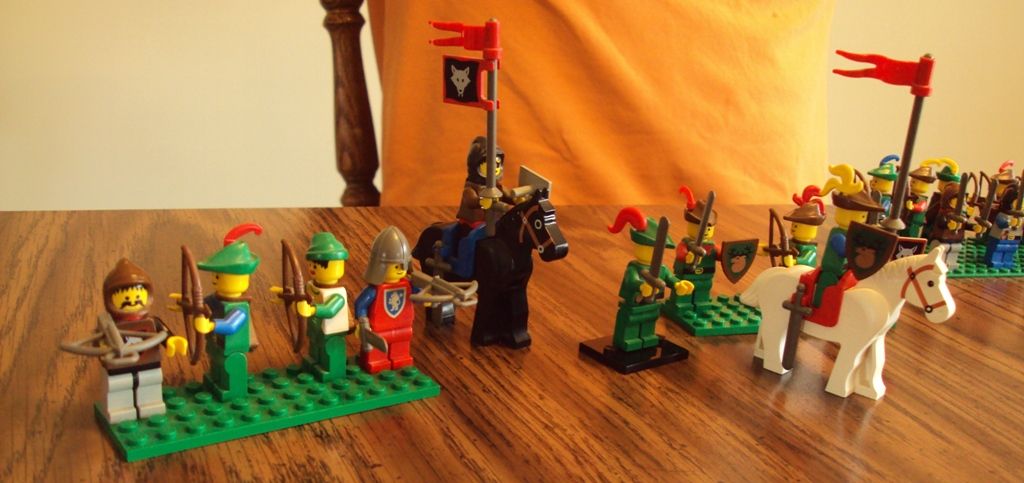
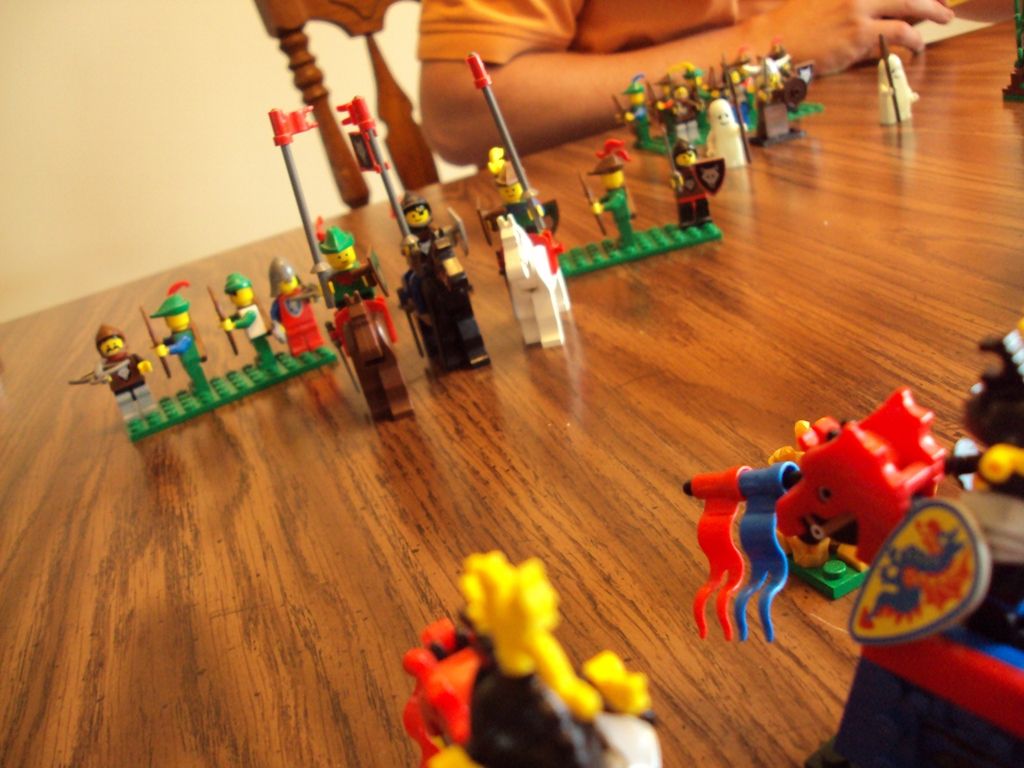
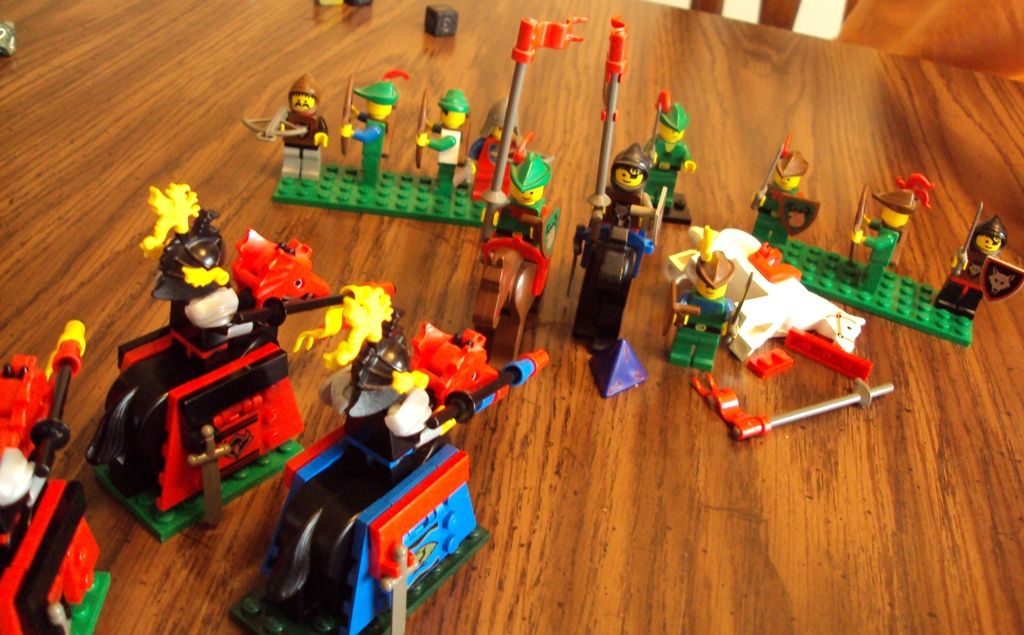
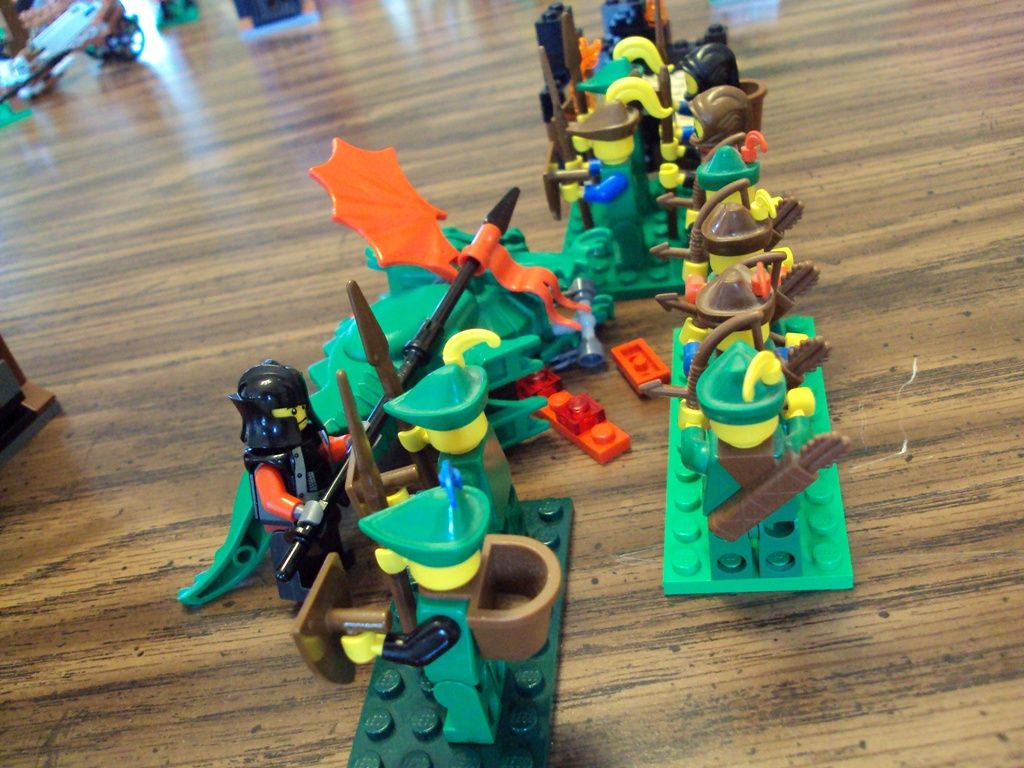
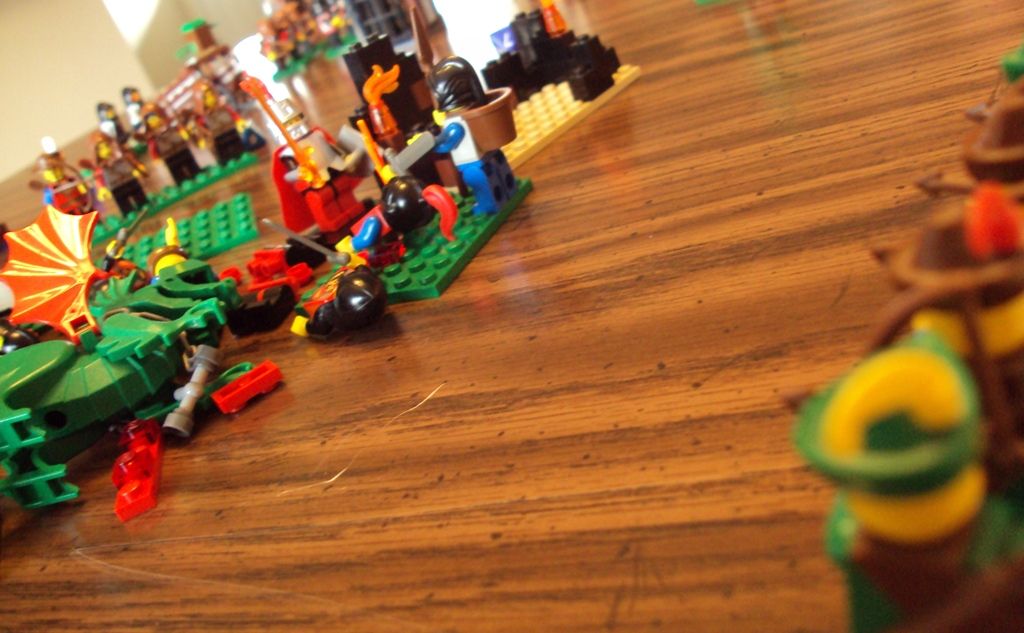
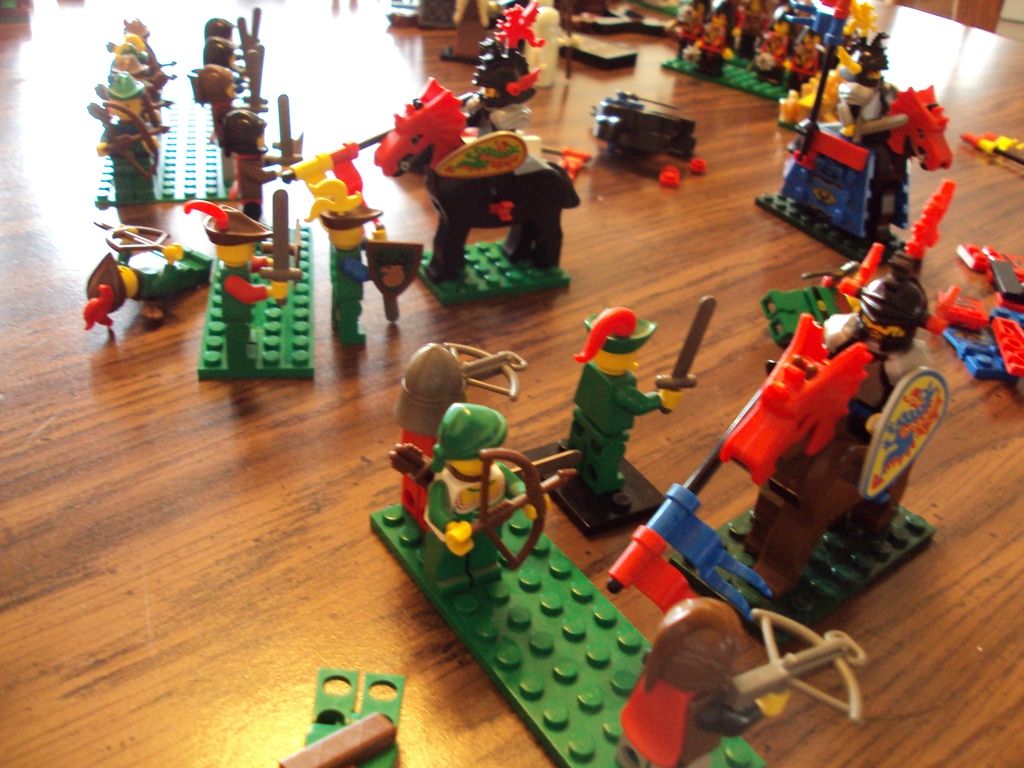
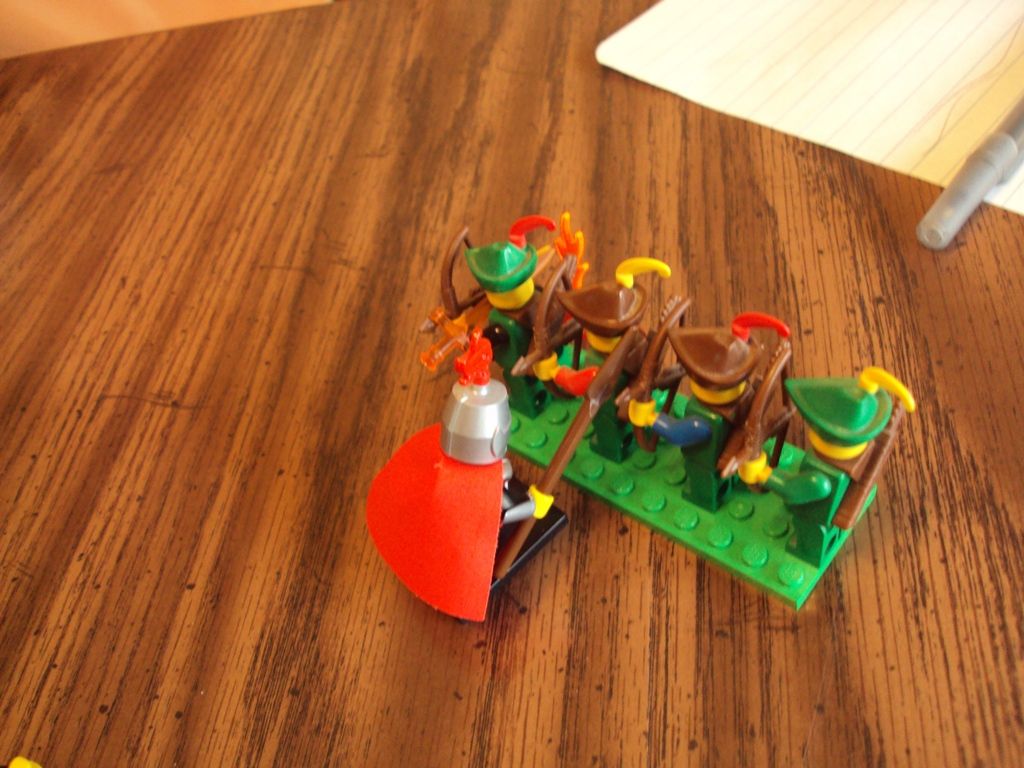
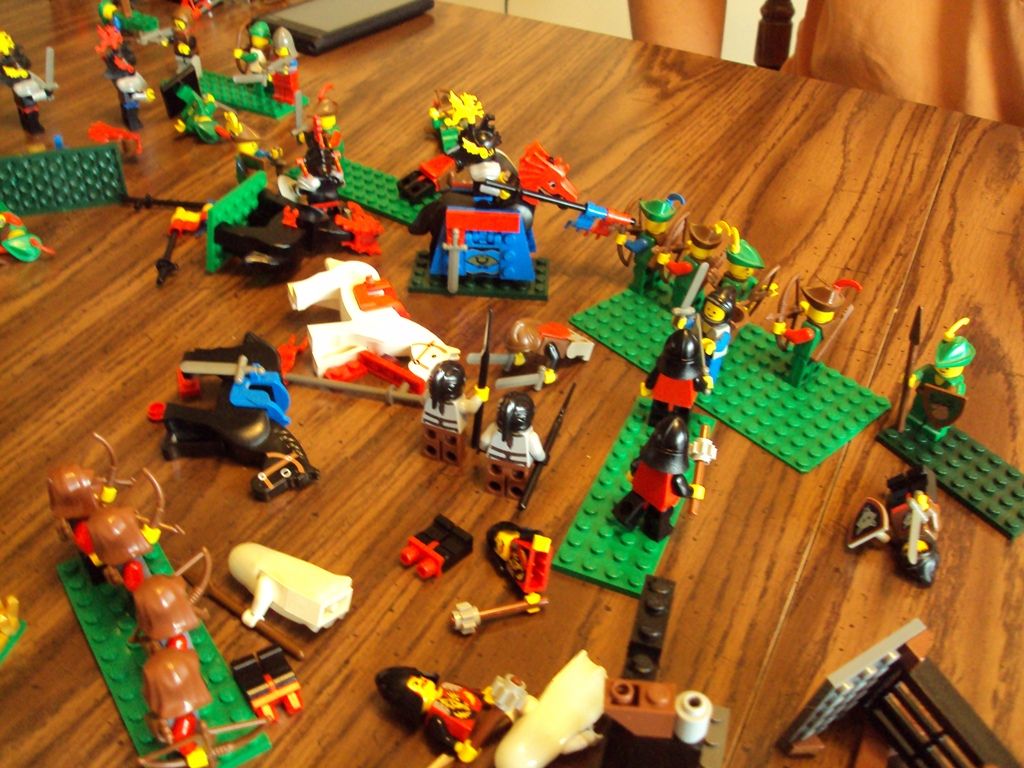
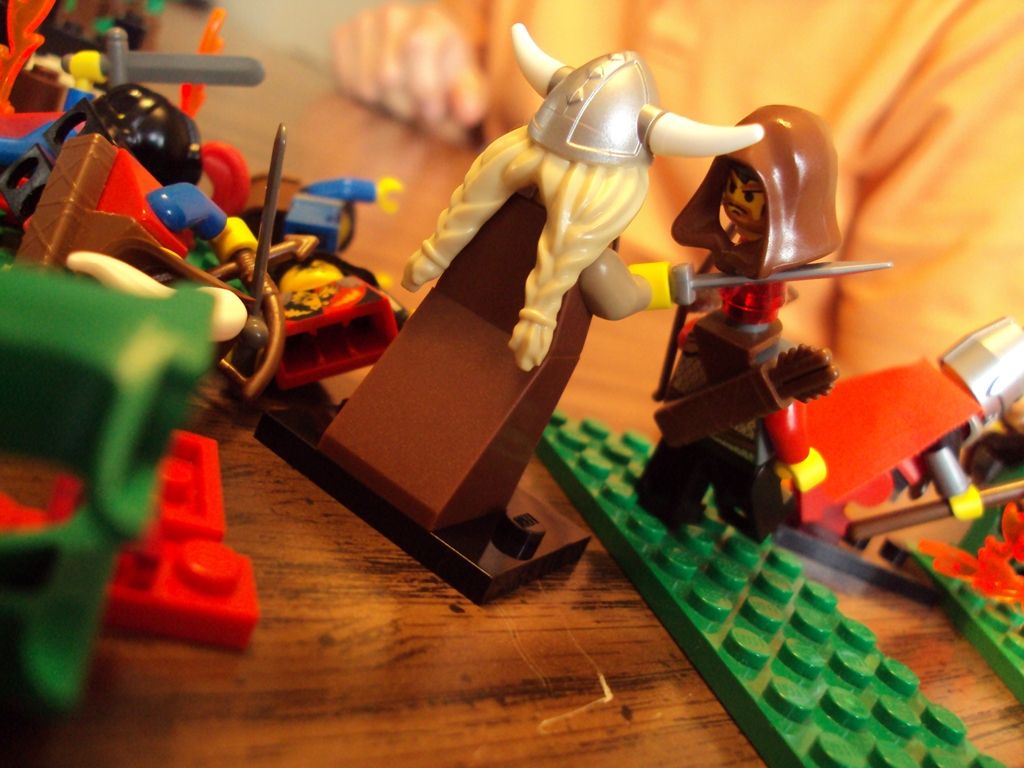
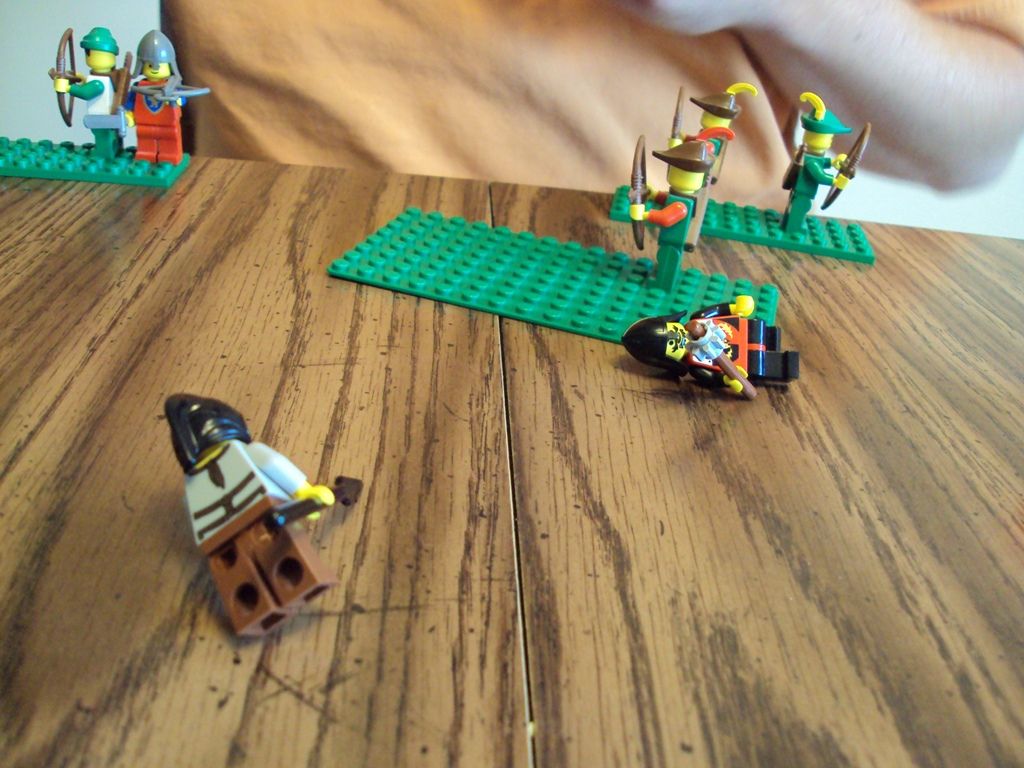
Here is McLovin's deployment across the table. He is very archer heavy (a count of at least twelve, maybe more). His deployment is relatively even between his right, left, and center. His hero is one of the collectible Viking women whose cliche is somewhere between Conan the Barbarian and deadly opera singer.
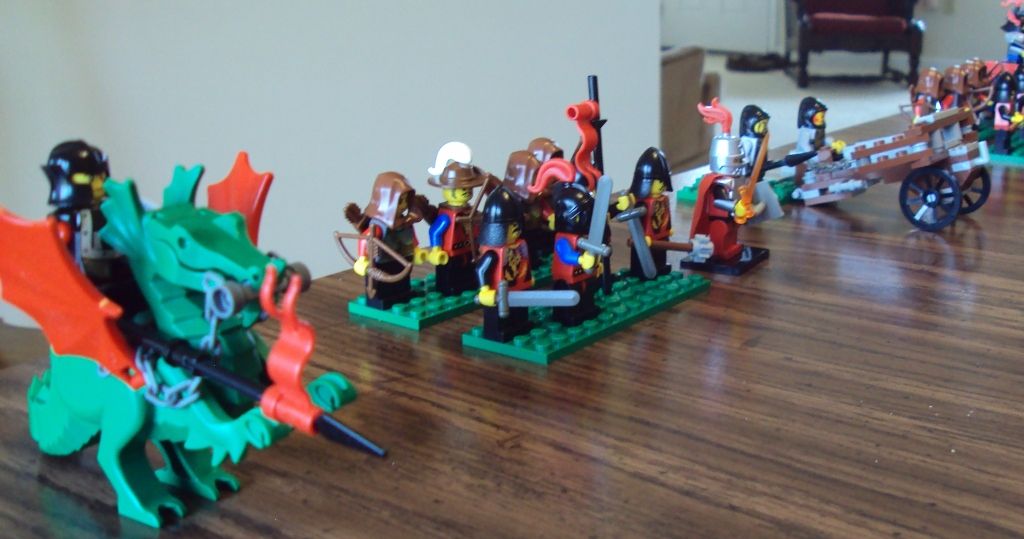
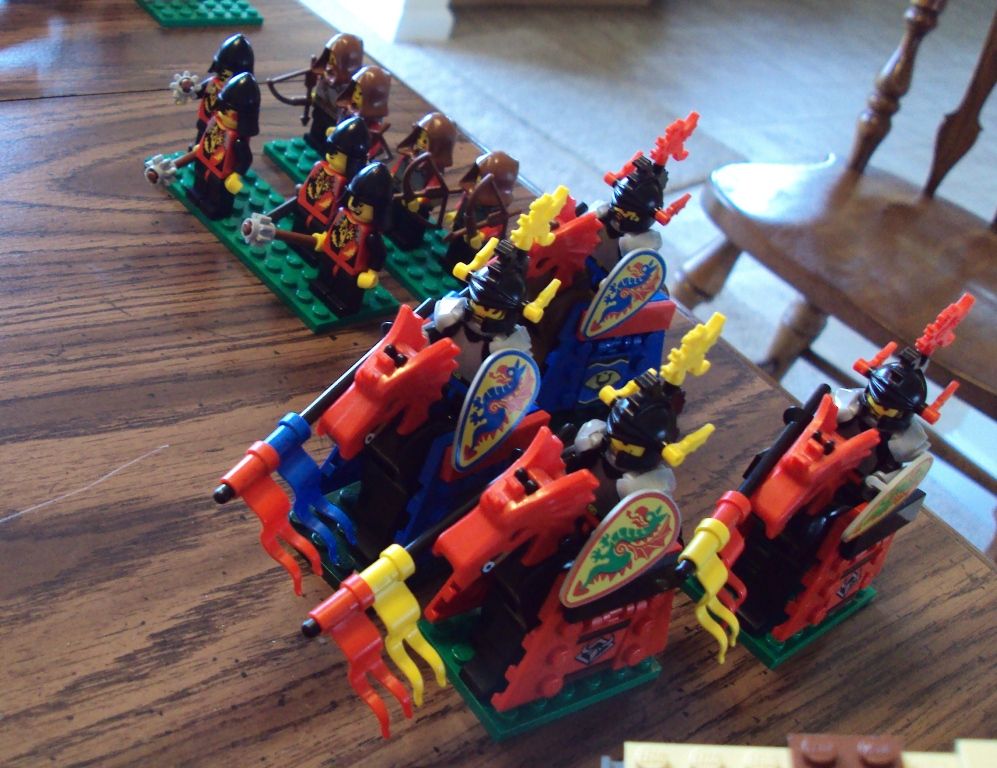
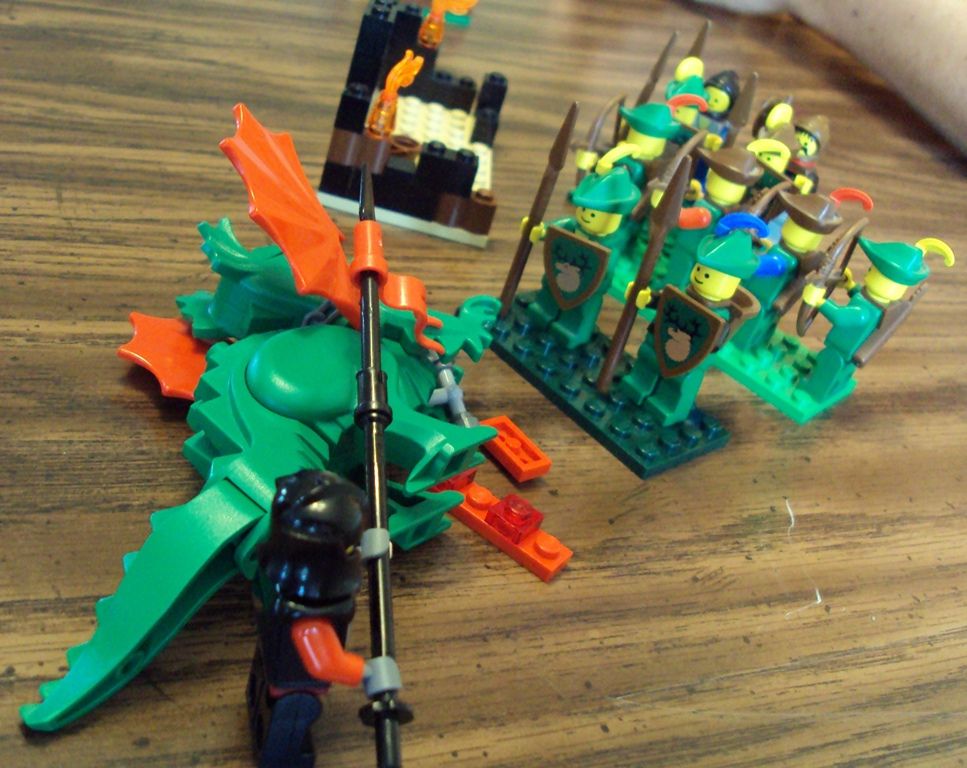
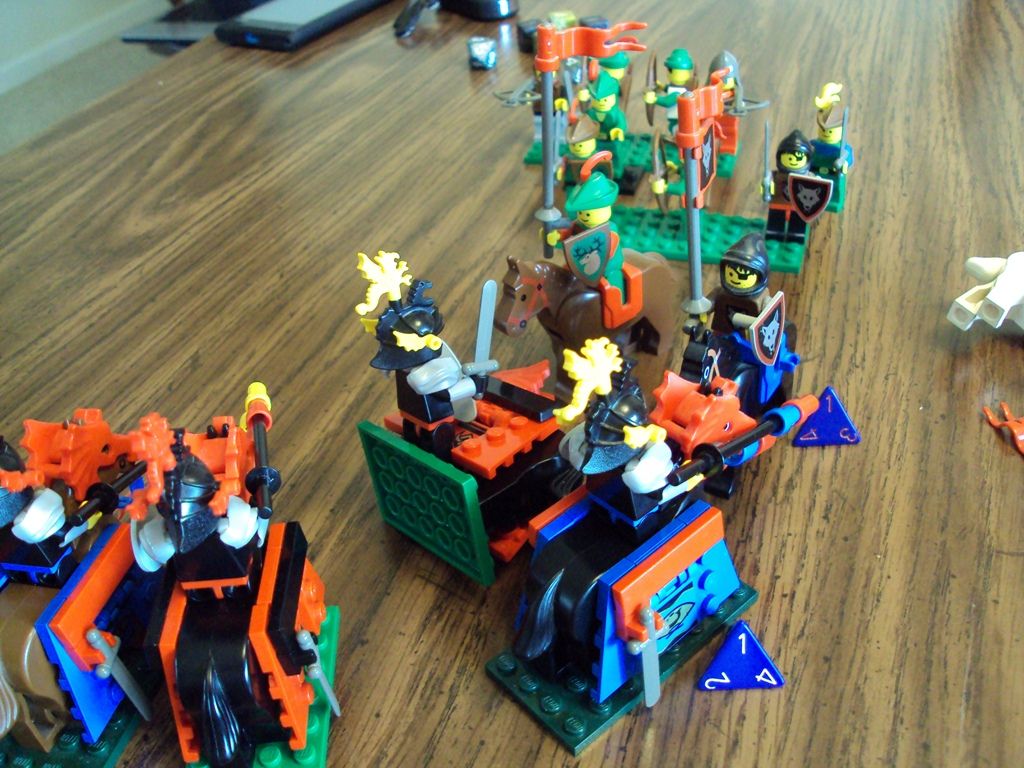
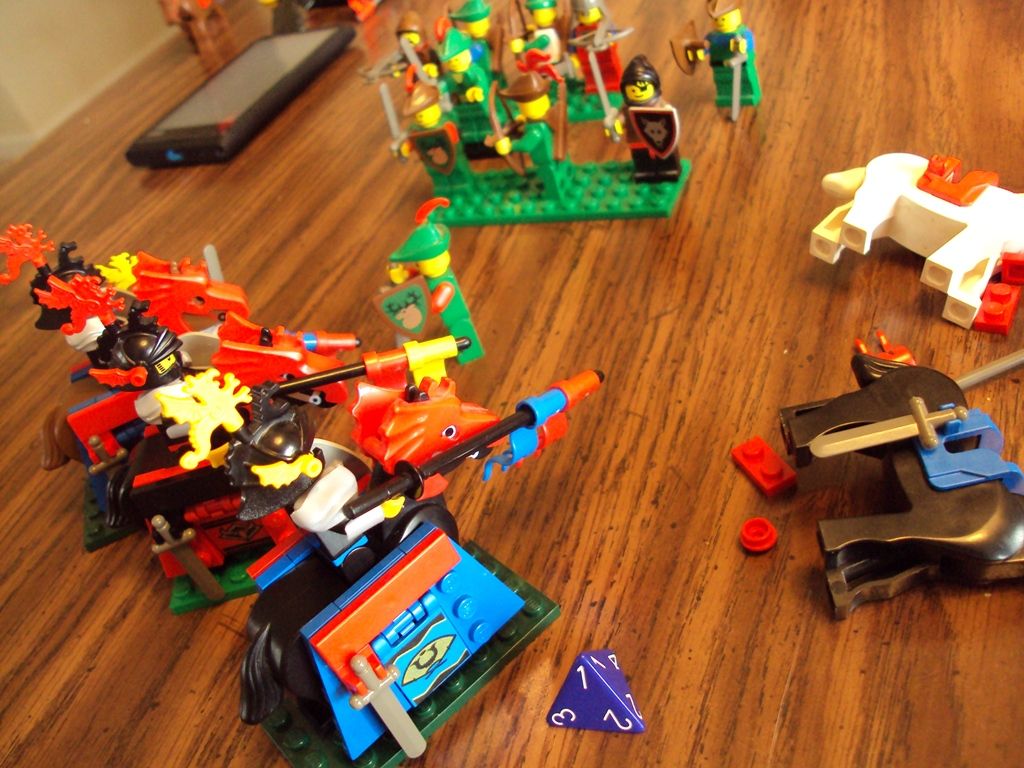
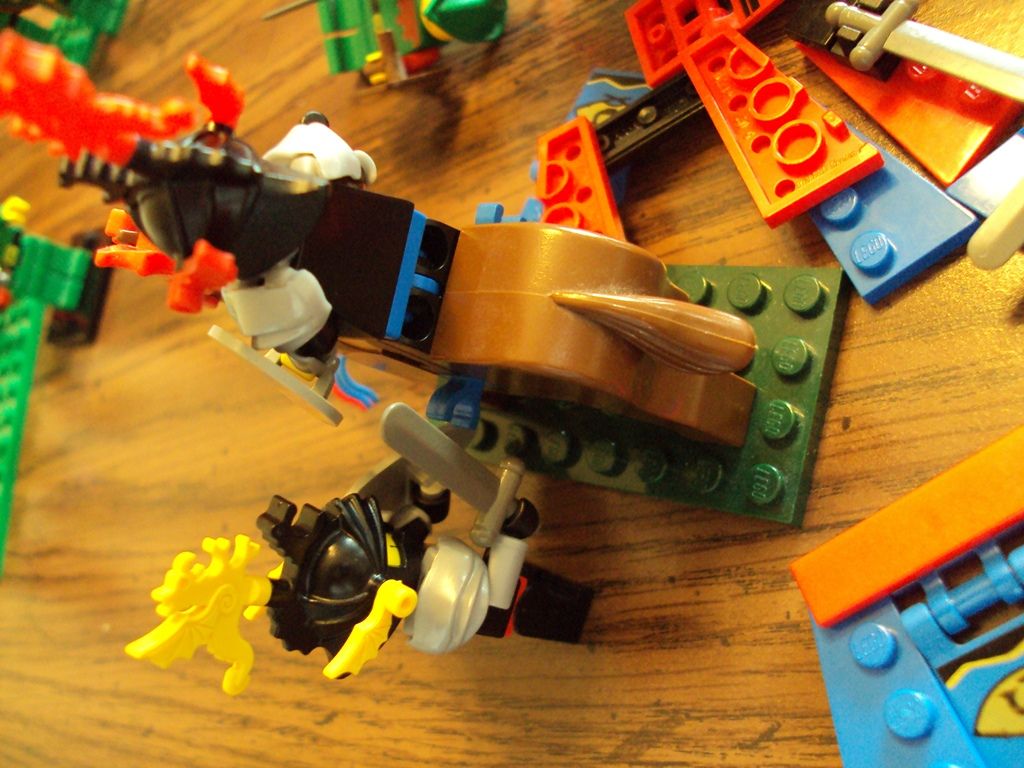
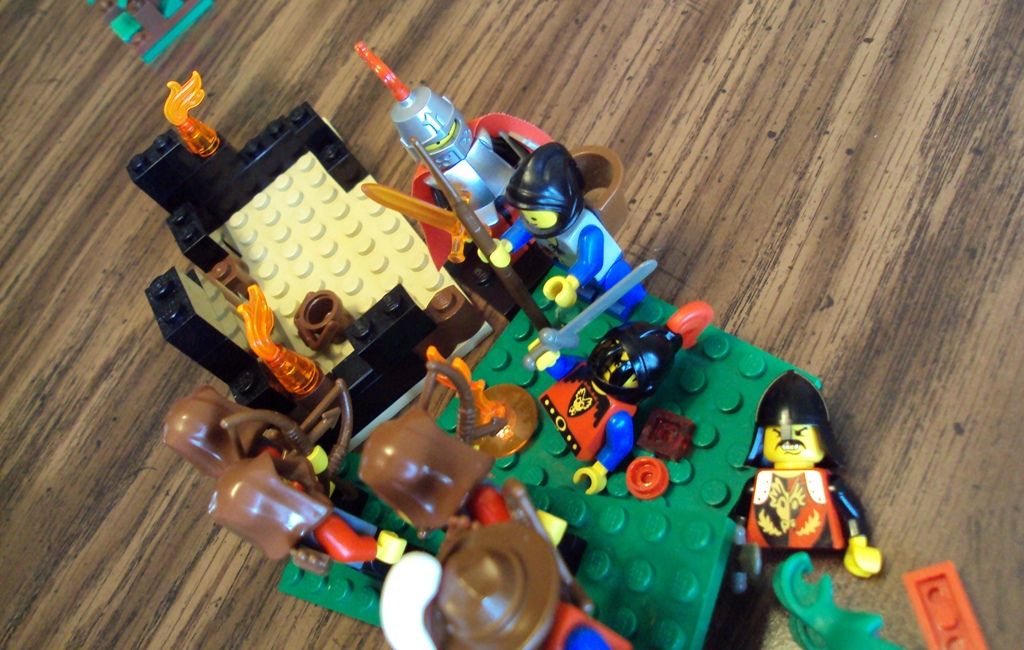
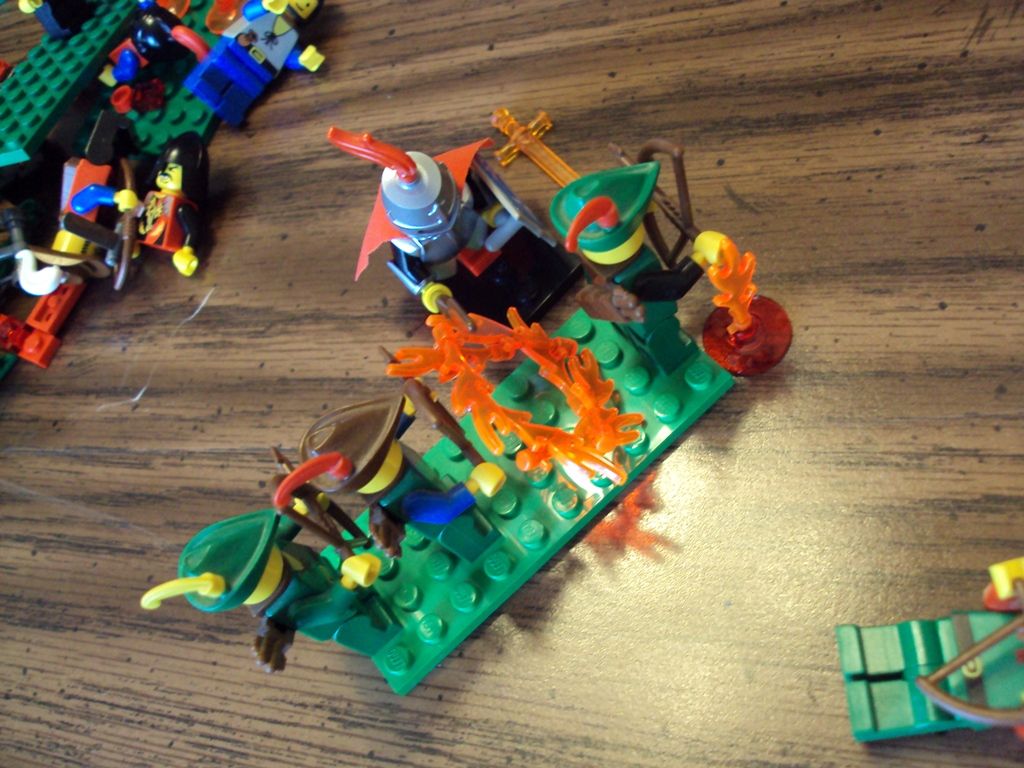
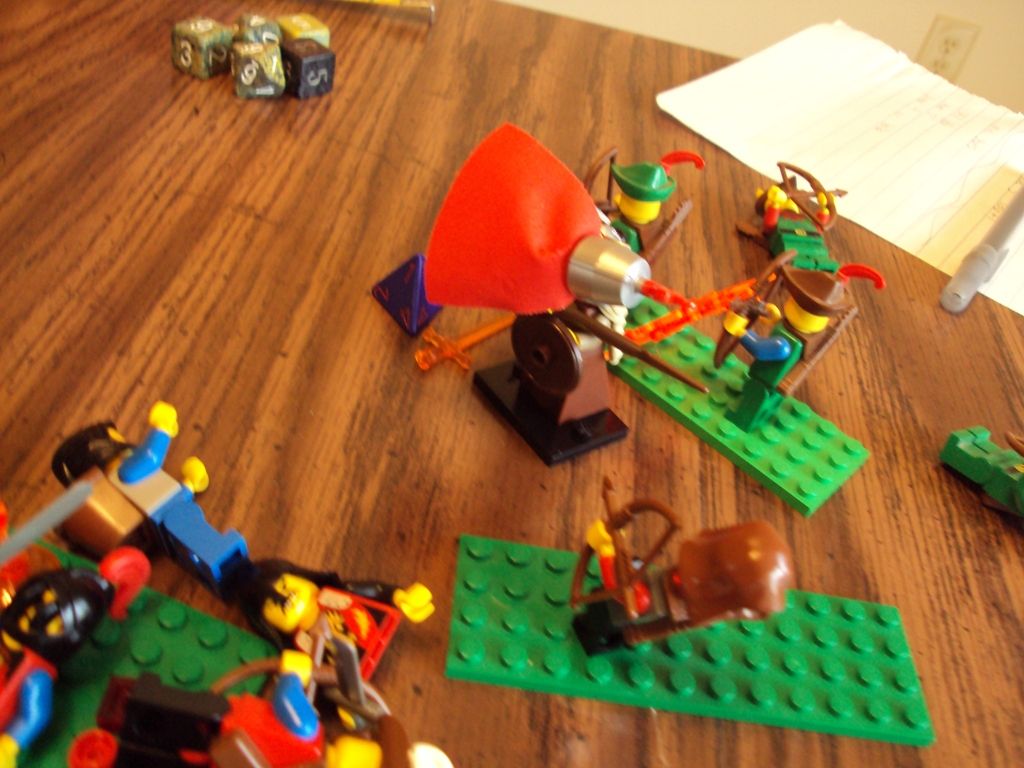
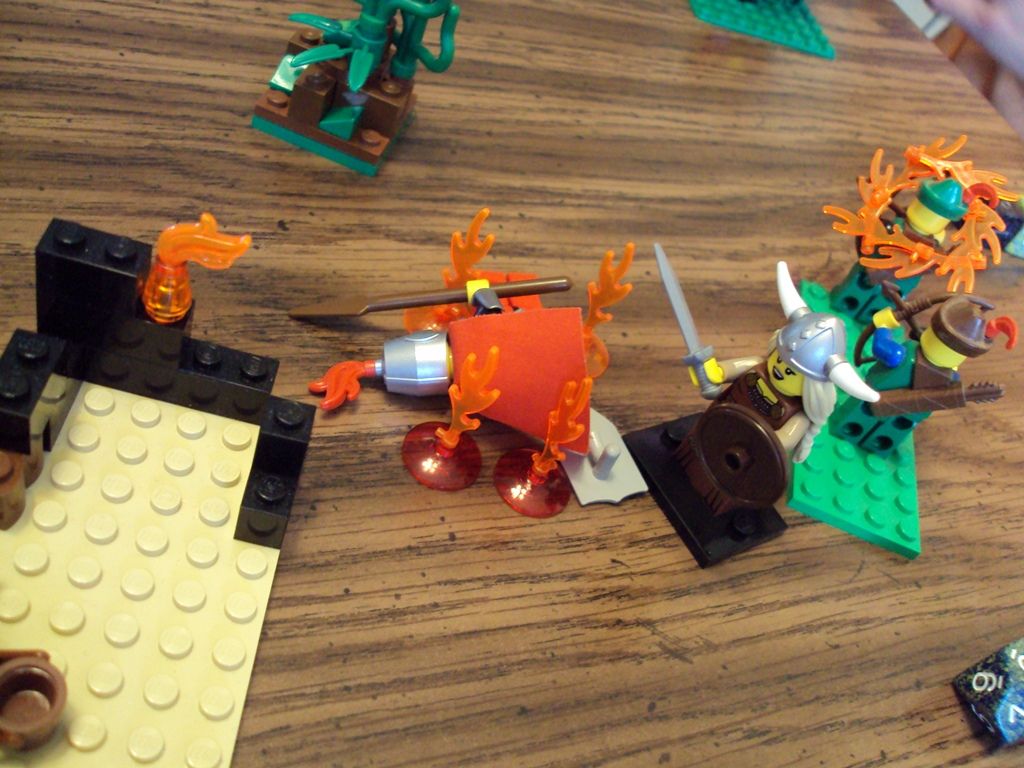
My Dragon Guard deployment is as you can see it. A dragon rider to the far right. Melee guys and Archers in the center with a Ballista, and a squad of knights to my far left. My hero is in the silver armor with an OTC longsword.
Tactically, the game played out very interesting, as you will see. Without giving too much away, I underestimated and made poor tactical decisions concerning his numbers of bowmen. They turned out to be a very robust unit. Armor, though powerful, also ended up being a major liability. But I don't want to ruin to much of the punchlines. You can see from the set-up that his advantage is the range department. My force has many harder-hitting units that will probably give him fits if they get close. Plus, I have armored units; he does not.
Turn 1
In the first photo, you see my troops' general movements for the turn. Nothing too spectacular. In the next two shots you can see perspective from my guys on the movements of McLovin. Aggressively moving forward with his own Cavalry versus mine. I should note at this point that my horses are barded and armored, meaning their movement sucks.
Turn 2
So here I made a silly tactical error. I underestimated the strength of his archers versus my dragon rider. Despite a decent armor and size bonus, he shot me out of the sky with no misses and one or two crits. And now I've got a slow-moving knight that he can just dance around.
This shot is deceptive. I haven't actually charged anything because I was 1" out of range. Instead, I just moved up to "hug" his cavalry so his own charges would not get MOM dice. Shot a horse too.
McLovin still decides to engage my cavalry with his. This is a pillow-fight though I think I took 1hp off a horse.
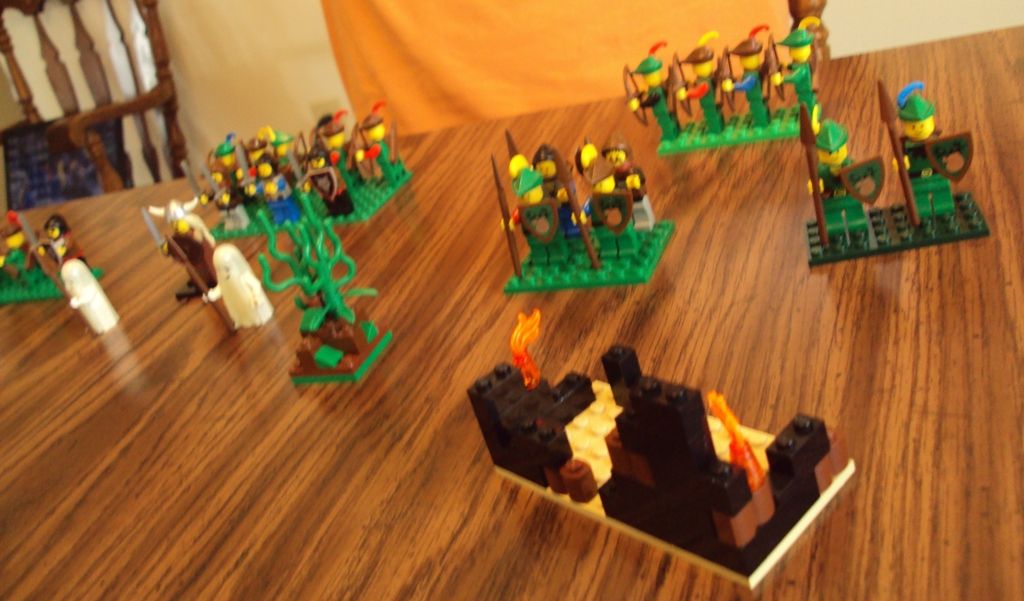
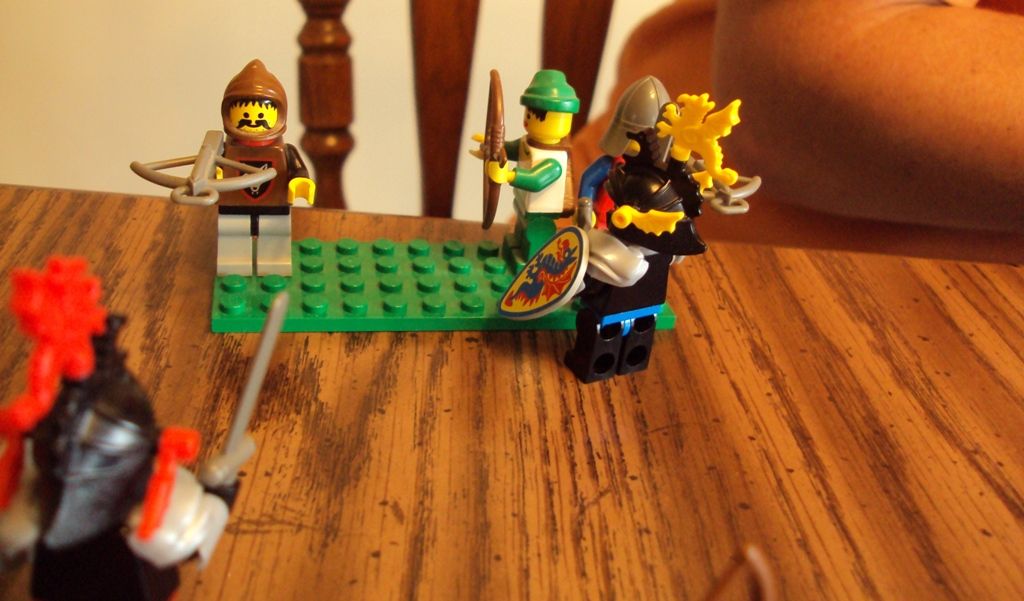
And McLovin's center line, hero, and bodyguards move up in the center toward the tower.
Oh...never mind, it wasn't a pillow-fight. Archers and lances actually slay one of my armored horses. Time for useless armored knight number 2.
And on the right flank, archers and spearmen push forward, two of them decided to distract my dragon rider.
Turn 3
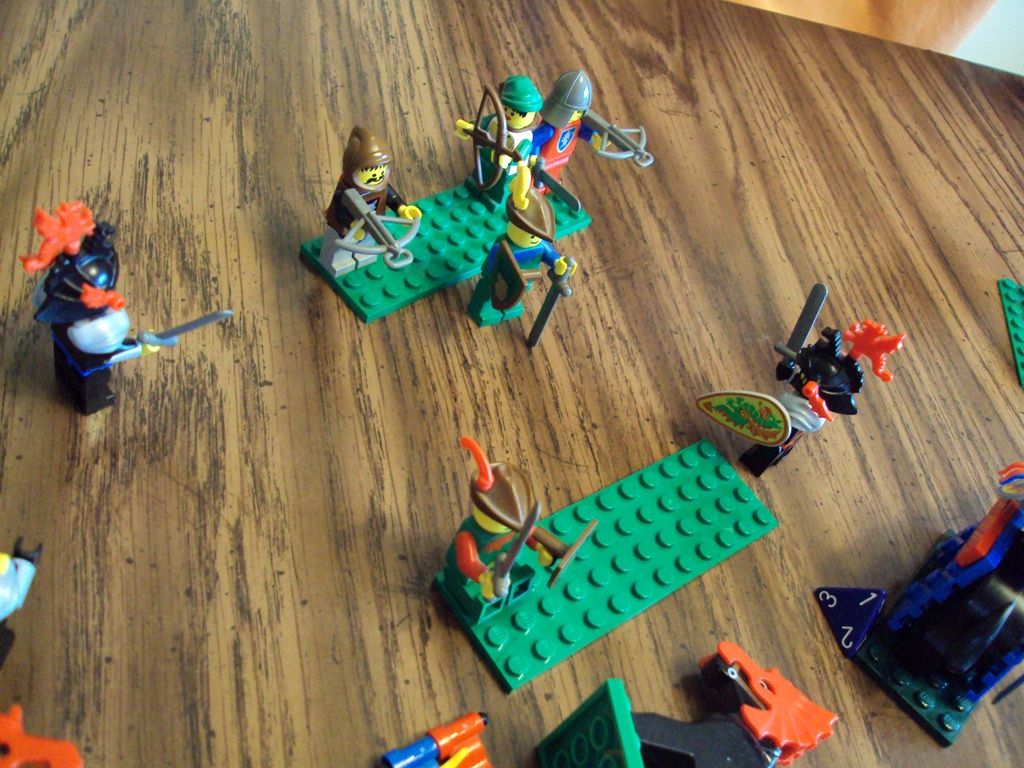
On the right flank, my fighters and hero make a bee-line for McLovin's infantry and archers. Response fire initially cuts down two of my guys. But with a mighty feat and leap, the hero and his body guards beat down three of McLovin's spearmen.
Having been detained by two of my mounted knights, the remaining two countercharge into McLovin's cavalry and wipe them off the map.
On McLovin's turn, his archers eliminate the rest of my right-flank infantry, leaving the OTC hero quite exposed.
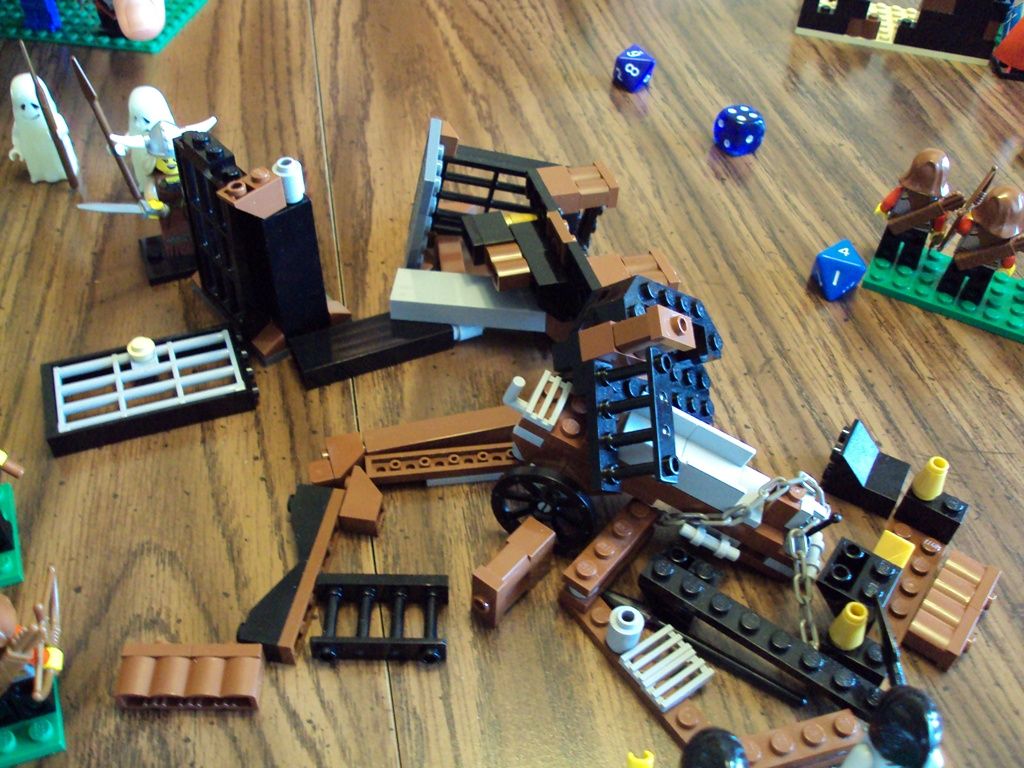
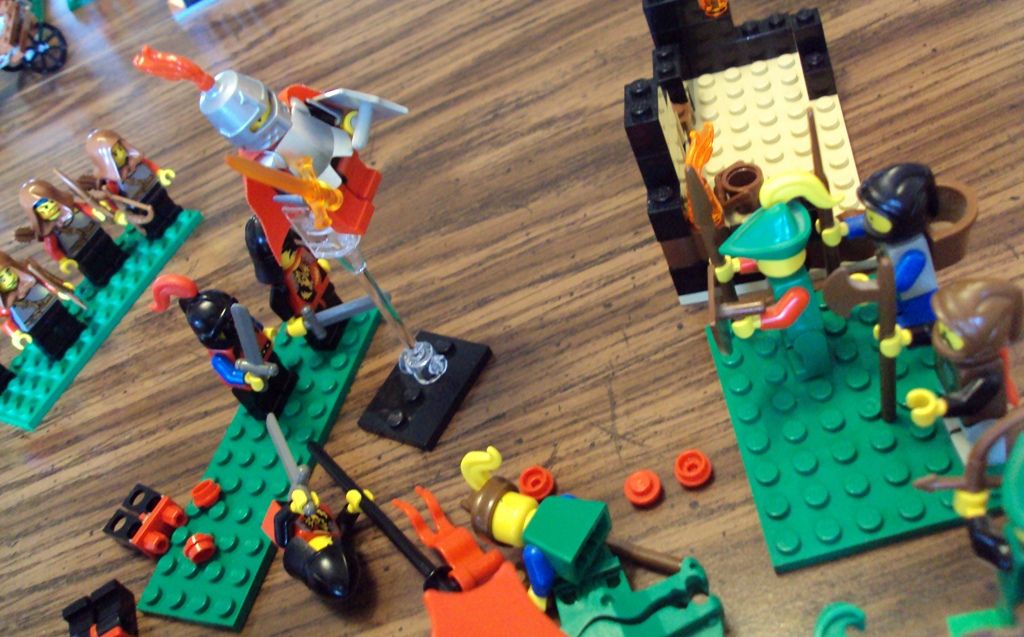
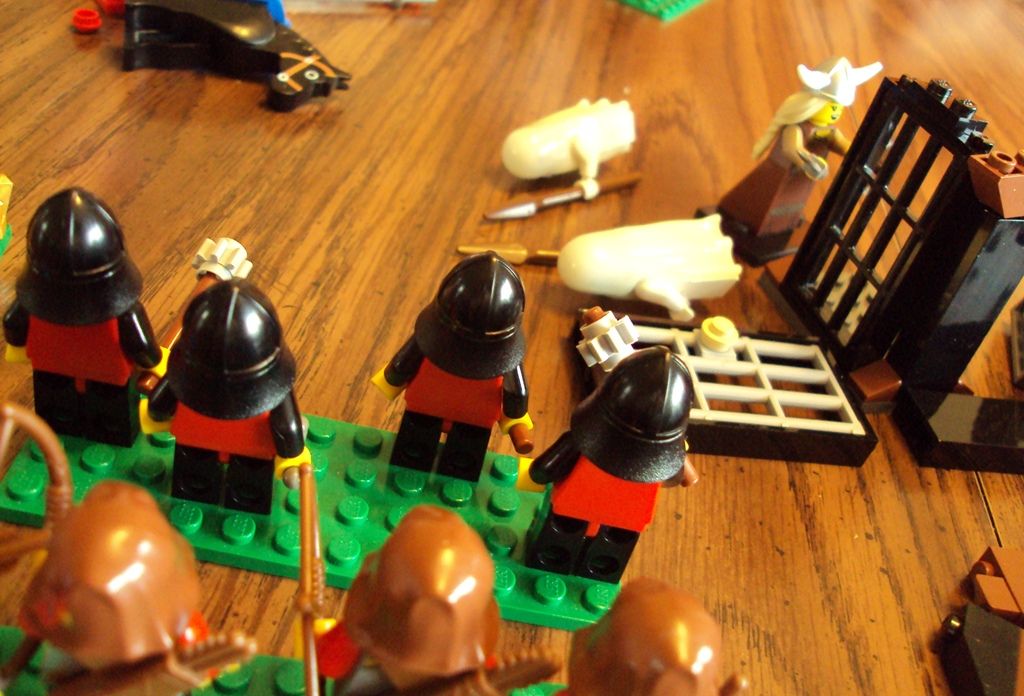
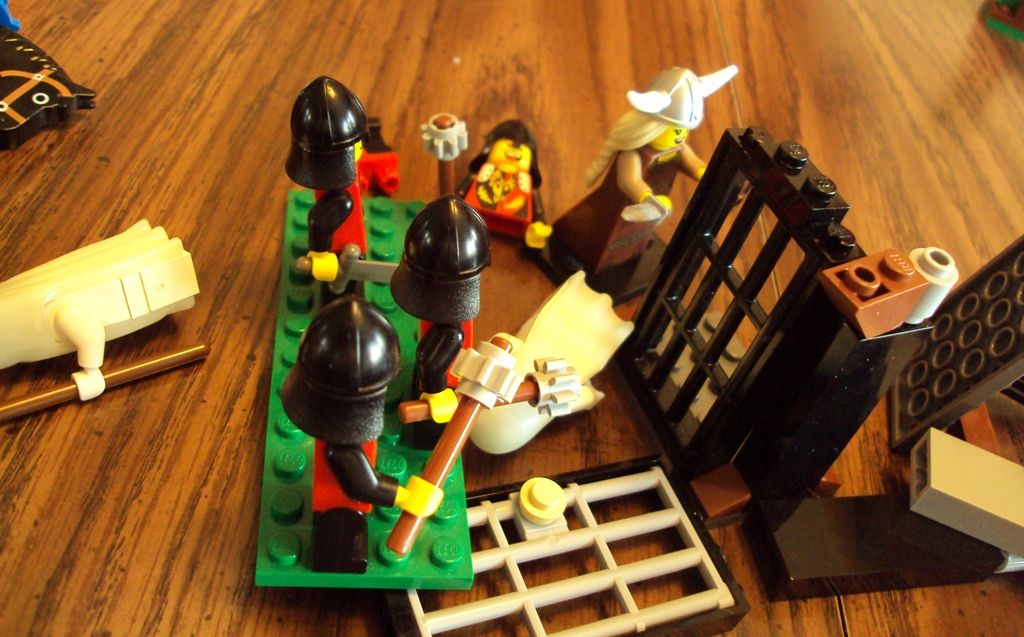
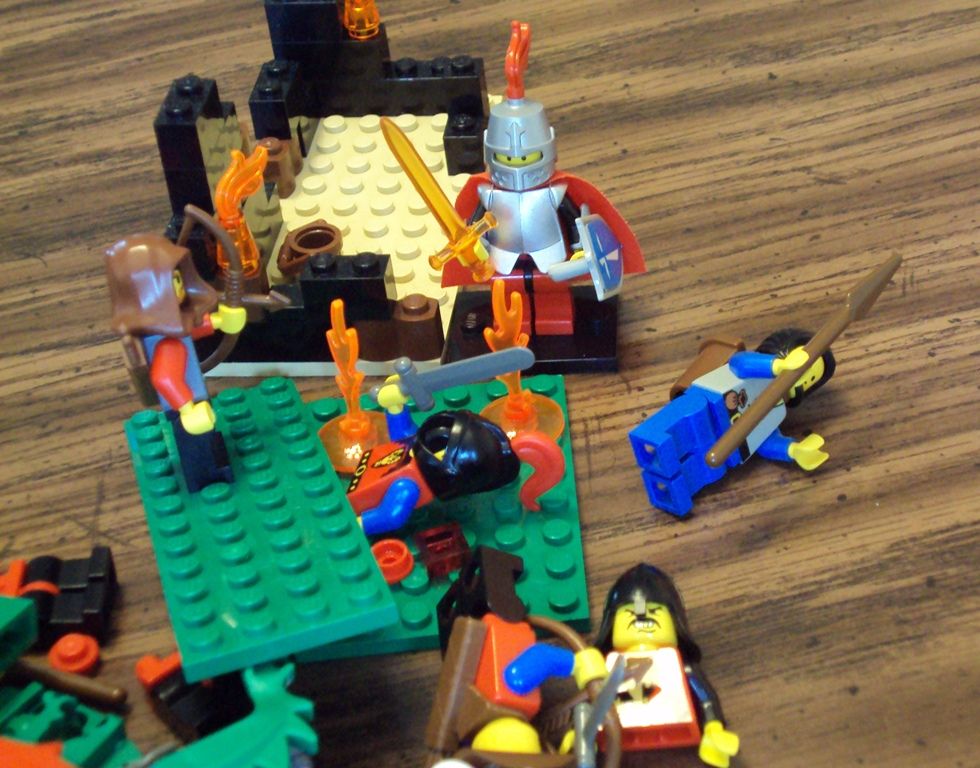
With a combination of brute-strength and high-pitched singing, McLovin's Vikingess brings the central tower tumbling down on my ballista. The crew survives.
Turn 4
Mobility is killing my forces. So, two of my knights use their action to sever the straps and barding off of two of the other mounted knights. Freed of their burdens, these two knights make sprinting charges into the enemy and slay some dudes.
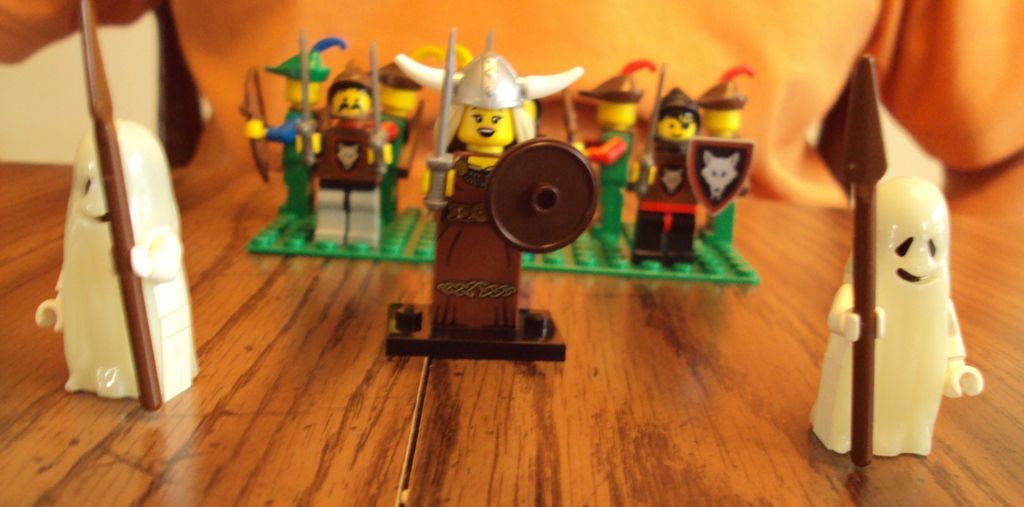
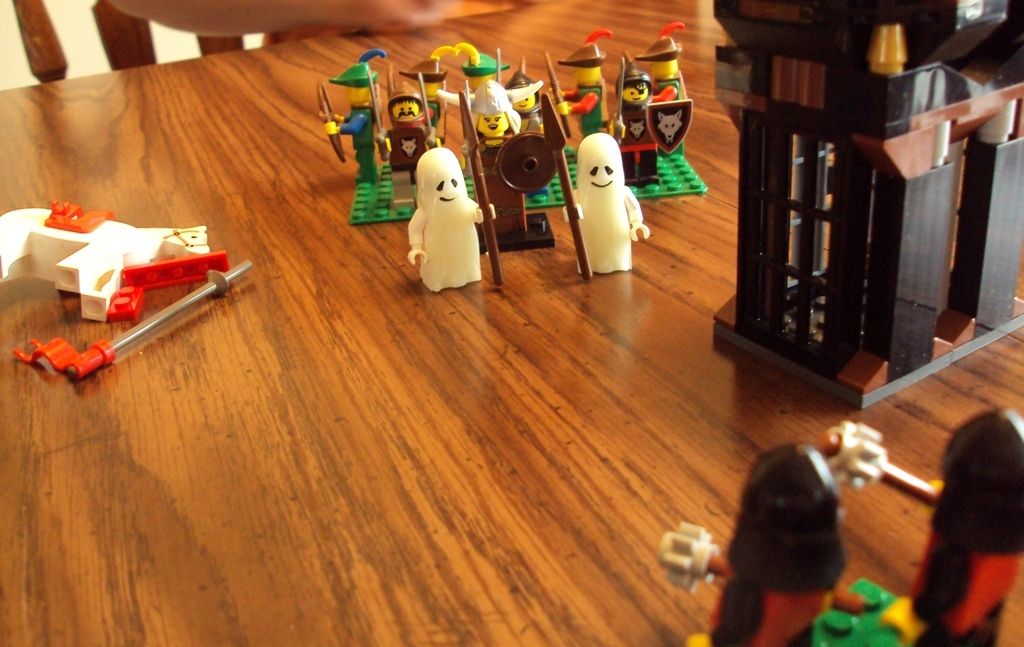
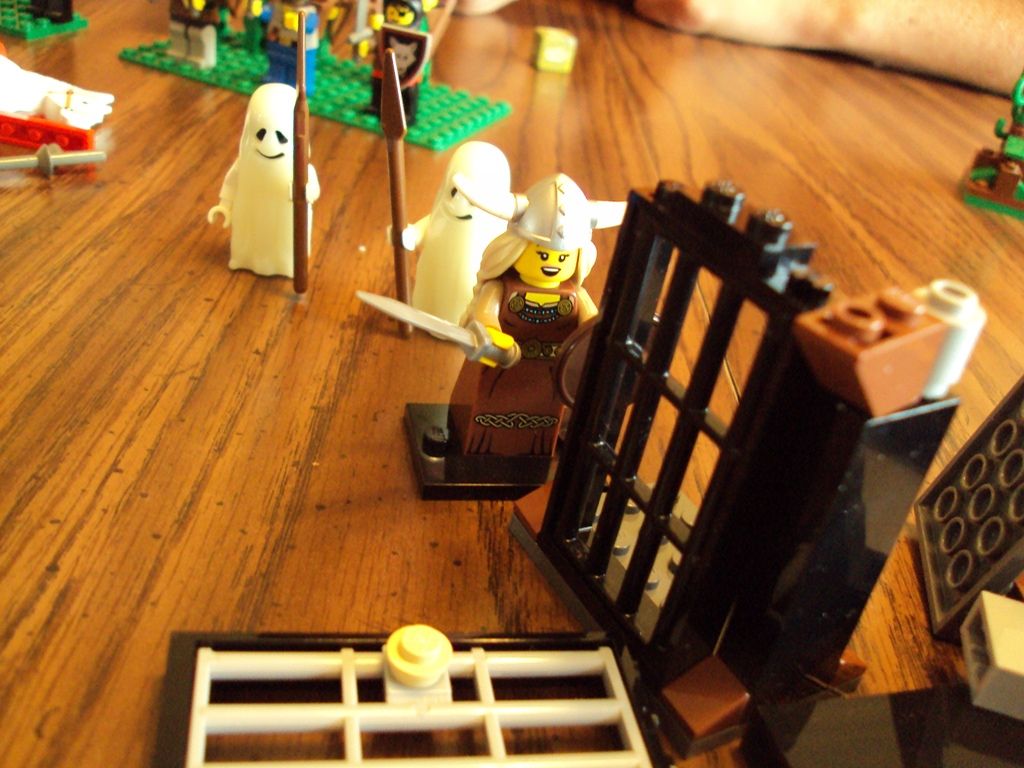
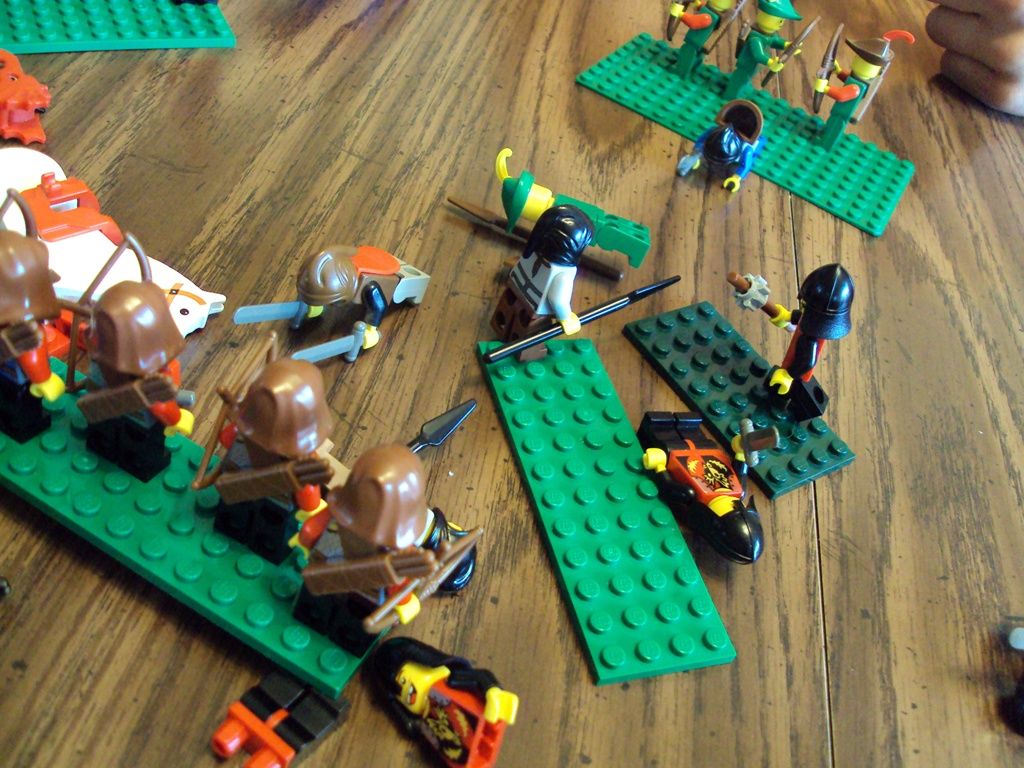
Archer fire eliminates McLovin's ghosties and the Dragon Guard infantry try to assault the exposed Vikingess.
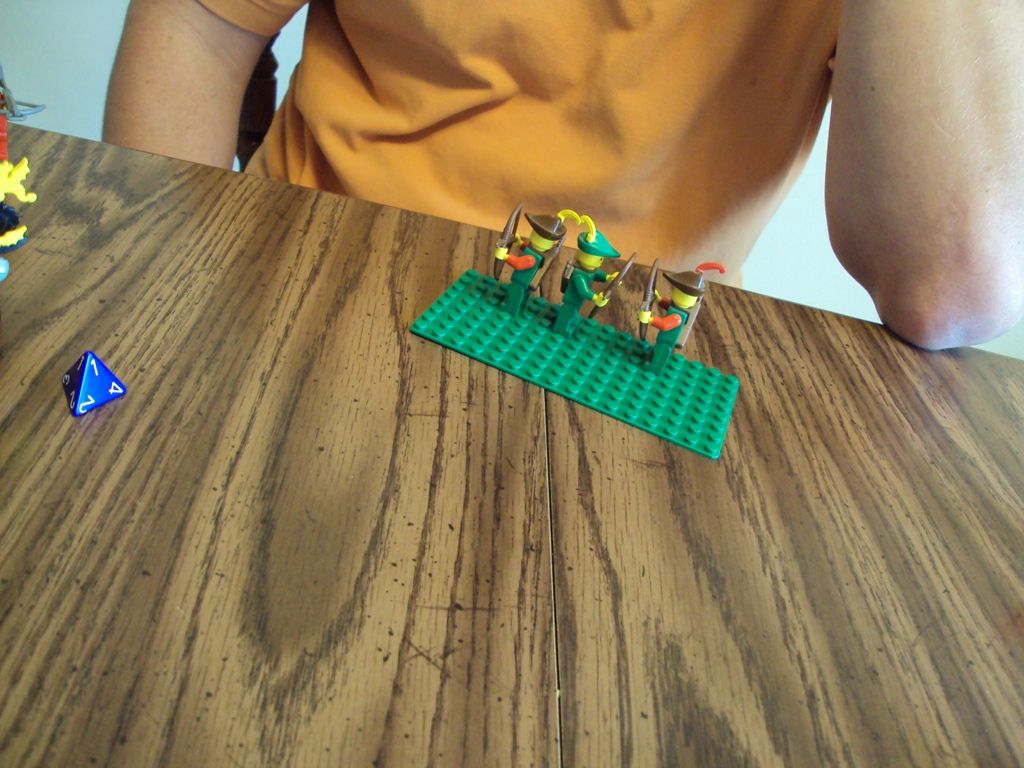
The archers on the right flank also sprint forward to provide their hero with red-shirts.
On McLovin's turn, you can see what happened...spearman kills one of my archers and his forestmen in the background shoot down two more! So now it is my hero and one archers on this side. You might also remember that I had a dragon rider on this side fighting two spearmen...well pretty much nothing is happening over there. Lots of whiffs.
But at this point, McLovin get's a brilliant idea. He decides he wants to shove the knights over so they can't get back up! Luckily, I parry this and most of his other attempts.
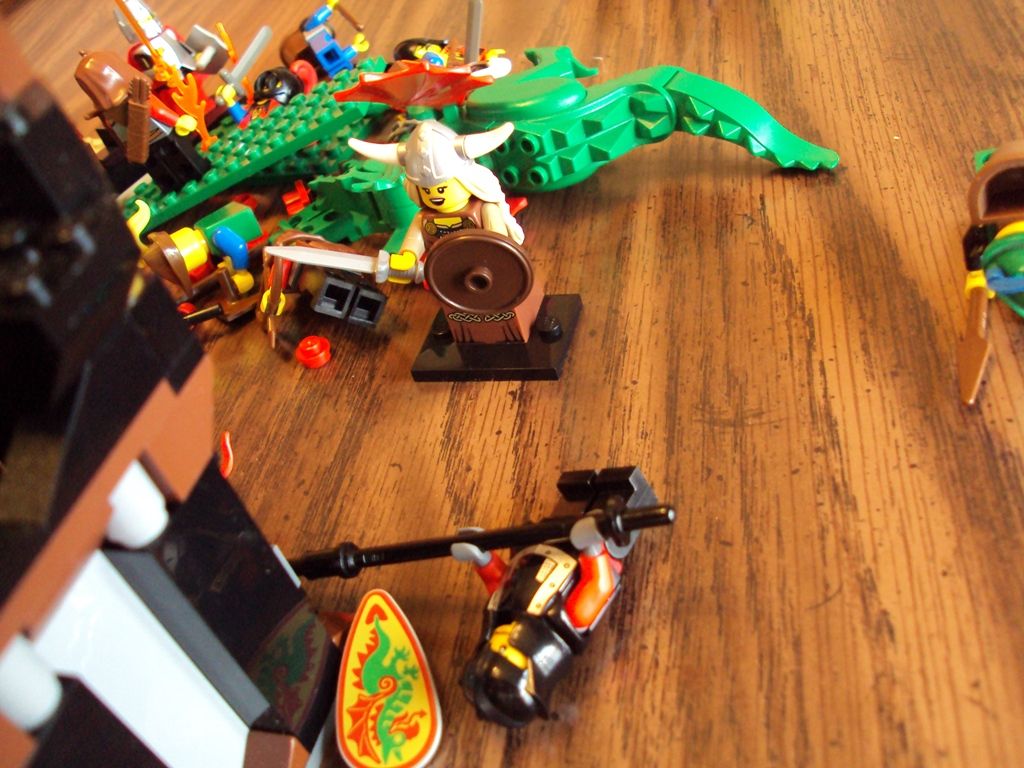
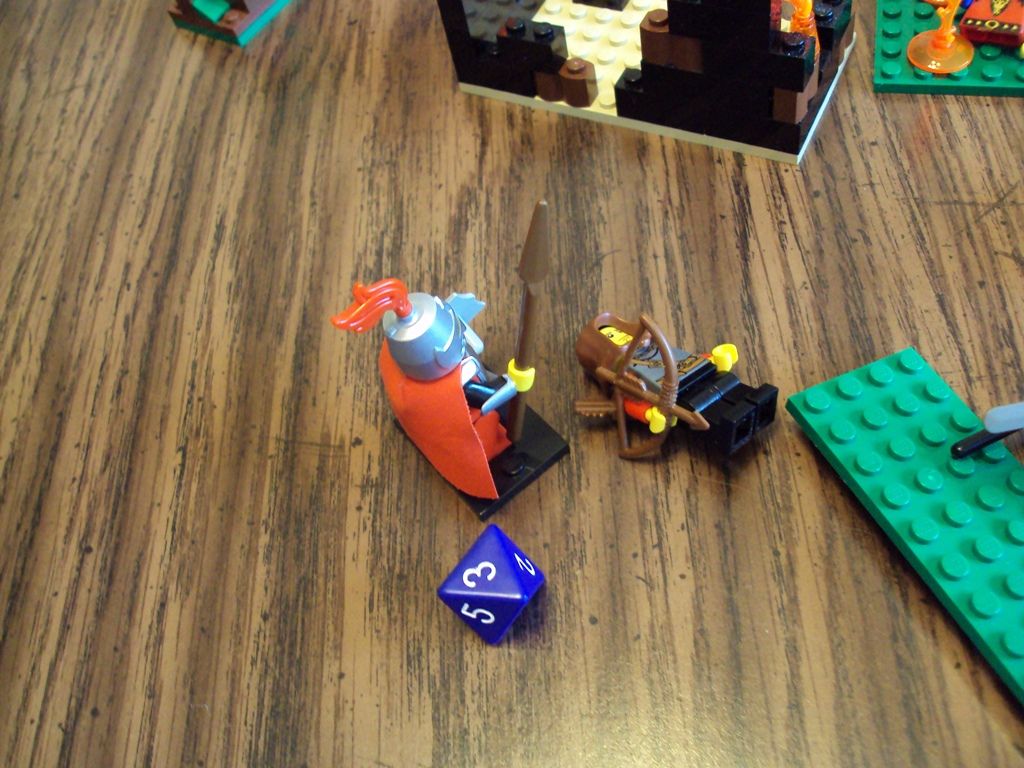
The Vikingess, however, leaps across the battlefield and dispatches the dragon rider I was talking about.
Turn 5
OTC Hero uses a feat to do some spectacular footwork. He tosses his flaming sword at an archer (fails to kill
Sadly, the explosion damage is not enough to eliminate the squad! Darn it!
General movements for the turn. Infantry and archers of the Dragon Guard moving forward. General mayhem.
And over here dismounted knights do the best they can to pursue their much swifter adversaries.
On McLovin's turn, the Vickingess dispatches OTC Hero's final redshirt.
Plus, using their bows as random objects, two archers put 1 HP wound on my hero! Darn it!
To add insult to injury, the Vikingess picks up my hero and tosses him a good 12" away
McLovin's forestmen continue to dance around...
...managing to eliminate some of their opponents.
Turn 6
My hero gets up; probably tried a feat but I'm pretty sure it failed.
Despite their incredible lack of speed, I try to use the armored knights to triangulate their targets...making it some SOMEONE can whack a forestman!
But McLovin's mobility is making this incredibly difficult.
Archers and Vikingess move around a bit...one dude is on fire but is really good with his armor roles.
Turn 7

THe Dragon Guard hero attempts to use his shield as a sled to gain ground and charge at the Vikingess in a duel to the death. Feat failed, but he still slides within reach of the other hero...
And she promptly nails him with a critical attack roll that explodes!
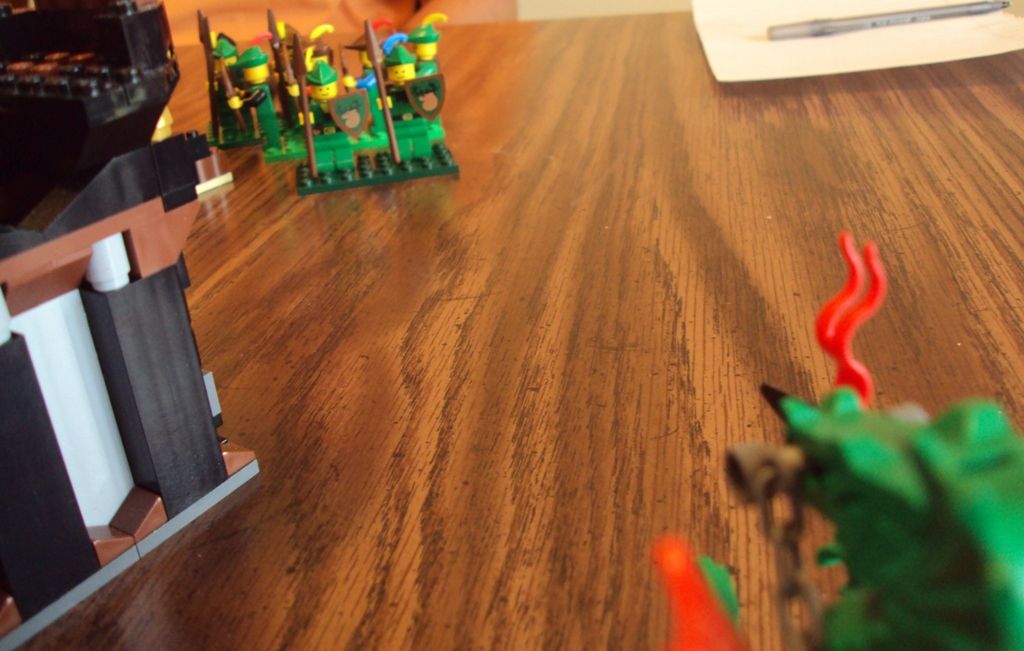
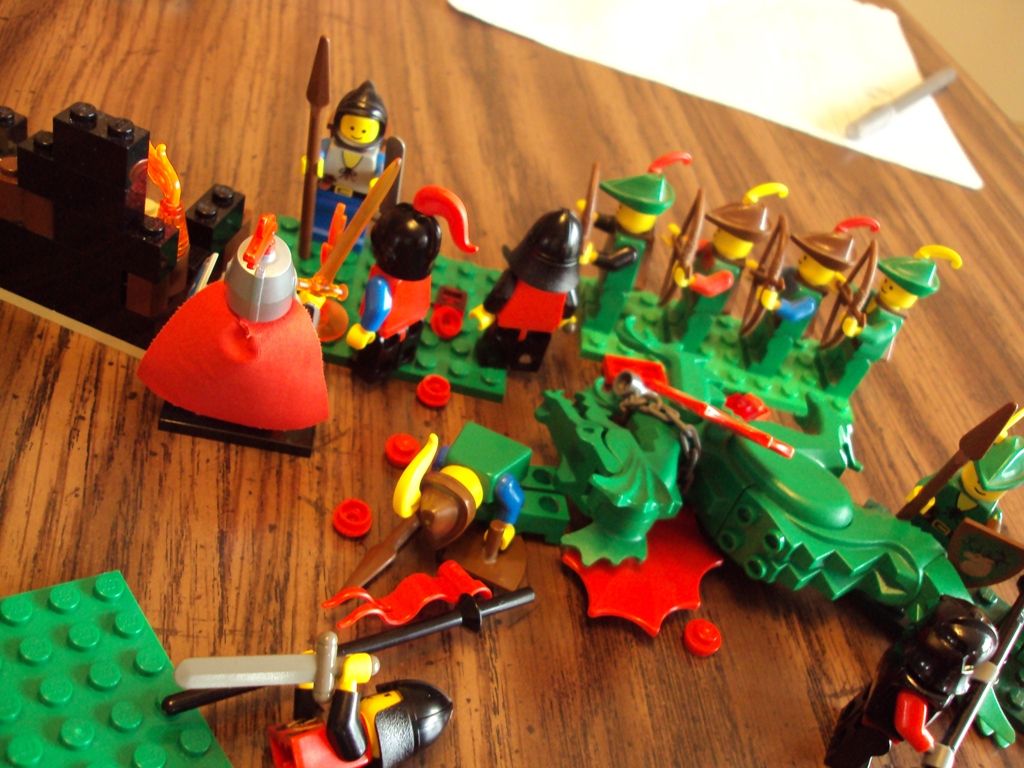
Forestmen kill some more infantry...
Turn 8
And the triangulation finally bears fruit. A knight is in contact with the archer group.
And I've also decided on a new tactic. At this point all I have left is a handful of armored knights, and all McLovin really has let is a handful of archers. If I drop my armor, i'll get shot to pieces. So I do the next best thing, I have my knights confiscate some bows off of dead bodies. Now the game is a fire-fight and I've got the superior protection.

However, even armored targets can fall to really, really nice critical hits!
Endgame
So that was my last photo. Let me tell you how the game ended. After a few turns of maneuvering and shooting, he has two archers left, and I have two armored knights left who are equipped with bows. We eventually reach a stalemate where he doesn't want to come within range of me for fear of being shot, and I can't actually chase after him. Under these conditions we call a draw and are collaborating on a much larger series of battles. The ending of this game may even become part of our next scenario, that our respective forces arrive on the field as a handful of archers from the previous battle are staring each other down.
Hope you enjoyed.
~ Rev


